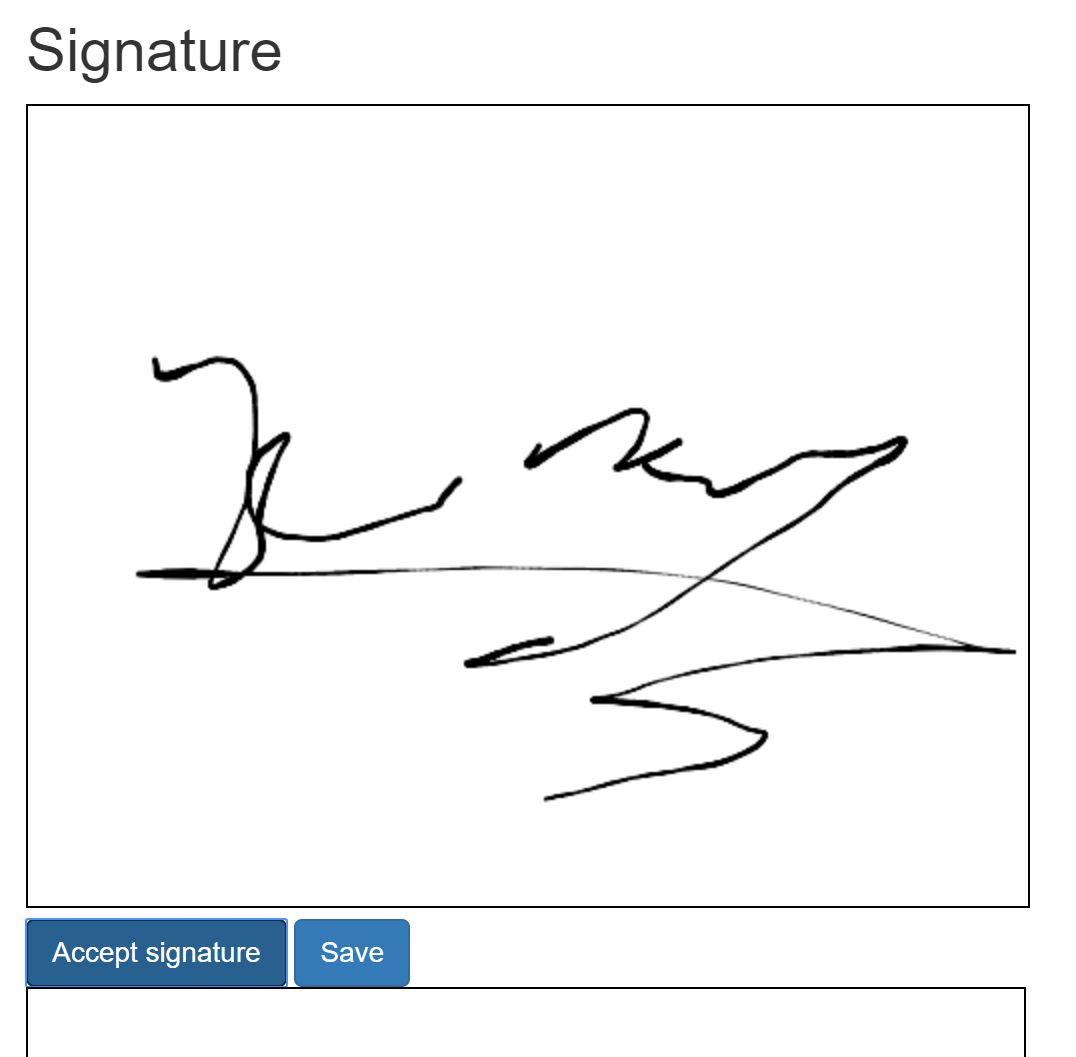
Creating a signature pad using Canvas and ASP.NET Core Razor Pages
Jürgen Gutsch - 05 June, 2018
In one of our projects, we needed to add a possibility to add signatures to PDF documents. A technician fills out a checklist online and a responsible person and the technician need to sign the checklist afterwards. The signatures then gets embedded into a generated pdf document together with the results of the checklist. The signatures must be created on a web UI, running on an iPad Pro.
It was pretty clear that we need to use the HTML5 canvas element and to capture the pointer movements. Fortunately we stumbled upon a pretty cool library on GitHub, created by Szymon Nowak from Poland. It is the super awesome Signature Pad written in TypeScript and available as NPM and Yarn package. It is also possible to use a CDN to use the Signature Pad.
Use Signature Pad
Using Signature Pad is really easy and works well without any configuration. Let me show you in a quick way how it works:
To play around with it, I created a new ASP.NET Core Razor Pages web using the dotnet CLI:
dotnet new razor -n SignaturePad -o SignaturePad
I added a new razor page called Signature and added it to the menu in the _Layout.cshtml. I created a simple form and placed some elements in it:
<form method="POST">
    <p>
        <canvas width="500" height="400" id="signature"
                style="border:1px solid black"></canvas><br>
        <button type="button" id="accept"
                class="btn btn-primary">Accept signature</button>
        <button type="submit" id="save"
                class="btn btn-primary">Save</button><br>
        <img width="500" height="400" id="savetarget"
             style="border:1px solid black"><br>
        <input type="text" asp-for="@Model.SignatureDataUrl">
    </p>
</form>
The form posts the content to the current URL, which is the same Razor page, but the different HTTP method handler. We will have a look later on.
The canvas is the most important thing. This is the area where the signature gets drawn. I added a border to make the pad boundaries visible on the screen. I add a button to accept the signature. This means we lock the canvas and write the image data to the input field added as last element. I also added a second button to submit the form. The image is just to validate the signature and is not really needed, but I was curious about, how it looks in an image tag.
This is not the nicest HTML code but works for a quick test.
Right after the form I added a script area to render the JavaScript to the end of the page. To get it running quickly, I use jQuery to access the HTML elements. I also copied the signature_pad.min.js into the project, instead of using the CDN version
@section Scripts{
    <script src="~/js/signature_pad.min.js"></script>
    <script>
        $(function () {

            var canvas = document.querySelector('#signature');
            var pad = new SignaturePad(canvas);

            $('#accept').click(function(){

                var data = pad.toDataURL();

                $('#savetarget').attr('src', data);
                $('#SignatureDataUrl').val(data);
                pad.off();

            });

        });
    </script>
}
As you can see, creating the Signature Pad is simply done by creating a new instance of SignaturePad and passing the canvas as an argument. On click at the accept button, I start working with the pad. The function toDataURL() generates an image data URL that can be directly used as image source, like I do in the next line. After that I store the result as value in the input field to send it to the server. In Production this should be a hidden field. at the end I switch the Signature Pad off to lock the canvas and the user cannot manipulate the signature anymore.

Handling the Image Date URL with C##
The image data URL looks like this:
data:image/png;base64,iVBORw0KGgoAAAANSUhEUgAAAfQAAAGQCAYA...
So after the comma the image is a base 64 encoded string. The data before the comma describes the image type and the encoding. I now send the complete data URL to the server and we need to decode the string.
public void OnPost()
{
    if (String.IsNullOrWhiteSpace(SignatureDataUrl)) return;

    var base64Signature = SignatureDataUrl.Split(",")[1];
    var binarySignature = Convert.FromBase64String(base64Signature);

    System.IO.File.WriteAllBytes("Signature.png", binarySignature);
}
On the page model we need to create a new method OnPost() to handle the HTTP POST method. Inside we first check whether the bound property has a value or not. Then we split the string by comma and convert the base 64 string to an byte array.
With this byte array we can do whatever we need to do. In the current project I store the image directly in the PDF and in this demo I just store the data in an image on the hard drive.
Conclusion
As mentioned this is just a quick demo with some ugly code. But the rough idea could be used to make it better in Angular or React. To learn more about the Signature Pad visit the repository: https://github.com/szimek/signature_pad
This example also shows what is possible with HTML5 this times. I really like the possibilities of HTML5 and the HTML5 APIs used with JavaScript.
Hope this helps :-)
